> ## Documentation Index
> Fetch the complete documentation index at: https://docs.pangolin.net/llms.txt
> Use this file to discover all available pages before exploring further.
# Azure Entra ID
> Configure Azure Entra ID Single Sign-On
Fastest way to get started with Pangolin using the hosted control plane. No credit card required.
Azure SSO is only available on [Pangolin Cloud](https://app.pangolin.net/auth/signup) and [Enterprise Edition](/self-host/enterprise-edition) deployments. In [Enterprise Edition](/self-host/enterprise-edition), you must set `app.identity_provider_mode: "org"` in your [private config file](/self-host/advanced/private-config-file) `privateConfig.yml`.
The following steps will integrate Microsoft SSO using the built in Azure Entra ID identity provider in Pangolin.
#### Create an App Registration
In Azure, go to "Microsoft Entra ID". Under "Manage", click "App registrations". On the "All applications" tab, select "Register an application".
Give it a name like "Pangolin", select your preferred supported account types, and click "Register". Leave the redirect URI blank for now; we will come back to this.
#### Copy Credentials
On the new app registration, select the "Overview" tab. Here, you can copy the "Application (client) ID" and save for later.
Now we need to generate the client secret. Click "Add a certificate or secret". Then click "New client secret". Enter a description like "Pangolin credentials" and choose an expiration time. Note that once this secret expires, you will need to generate a new one and replace it in the Pangolin dashboard for the associated IdP.
Copy the "Value" field and save for later.
We will revisit the **Authorised redirect URIs** field later, as we do not have Pangolin set up for Azure yet.
## Creating an Azure Entra ID IdP in Pangolin
In Pangolin, go to "Identity Providers" and click "Add Identity Provider". Select the Azure Entra ID provider option.
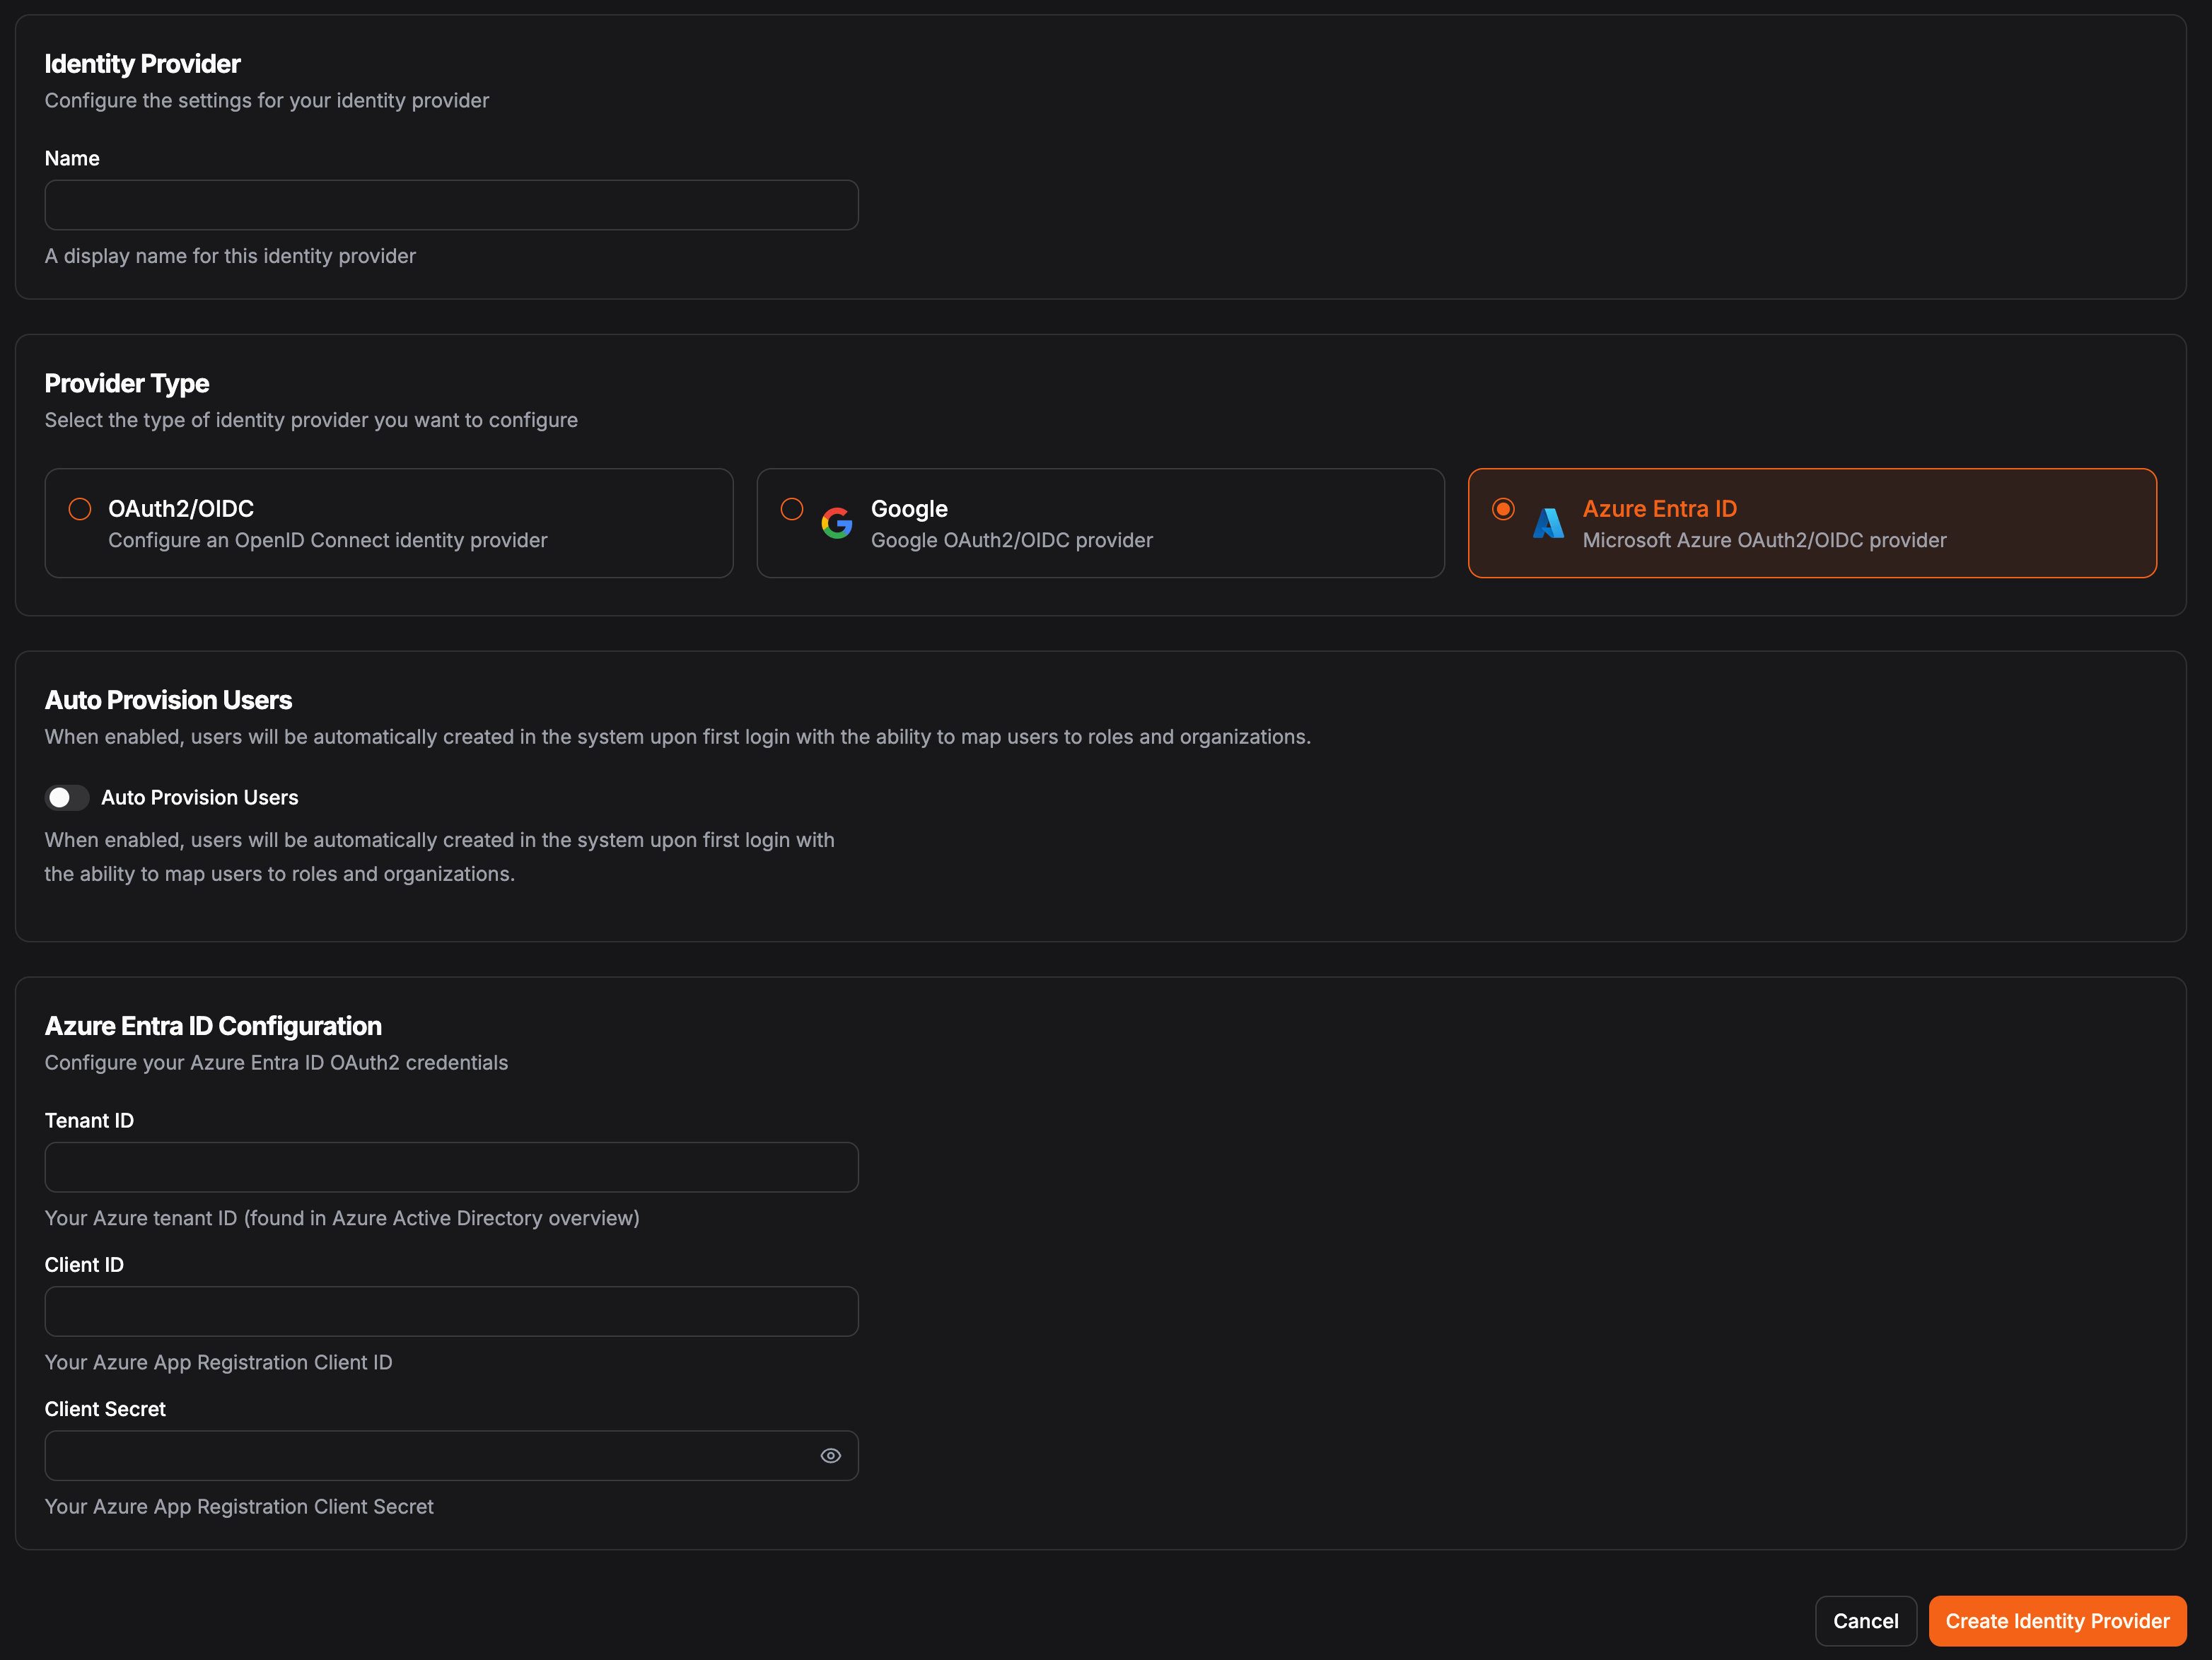 In the OAuth2/OIDC Configuration, you'll need the following fields:
The application (client) ID from the "Overview" section of your app registration
The client secret value from the "Certificates and secrets" section of your app registration
## Token Configuration
When you're done, click "Create Identity Provider". Then, copy the Redirect URL in the "General" tab as you will now need this for your app registration.
## Returning to Azure
Lastly, you'll need to return to your app registration in order to add the redirect URI created by Pangolin. On the "Overview" tab, click "Add a Redirect URI". The click "Add a platform", and select "Web". Here, you can add the redirect URL from Pangolin and click "Configure". Your configuration should now be complete. You'll now need to add an external user to Pangolin, or if you have "Auto Provision Users" enabled, you can now log in using Azure SSO.
In the OAuth2/OIDC Configuration, you'll need the following fields:
The application (client) ID from the "Overview" section of your app registration
The client secret value from the "Certificates and secrets" section of your app registration
## Token Configuration
When you're done, click "Create Identity Provider". Then, copy the Redirect URL in the "General" tab as you will now need this for your app registration.
## Returning to Azure
Lastly, you'll need to return to your app registration in order to add the redirect URI created by Pangolin. On the "Overview" tab, click "Add a Redirect URI". The click "Add a platform", and select "Web". Here, you can add the redirect URL from Pangolin and click "Configure". Your configuration should now be complete. You'll now need to add an external user to Pangolin, or if you have "Auto Provision Users" enabled, you can now log in using Azure SSO.