Google SSO is only available on Pangolin Cloud and Enterprise Edition deployments. In Enterprise Edition, you must set
app.identity_provider_mode: "org" in your private config file privateConfig.yml.How to create and set up a Google Project from scratch
How to create and set up a Google Project from scratch
Create a new Project, or use an existing Project you’ve already created in the Google Developers Console. Setting the organization isn’t required, unless you intend to use SSO for more than 100 users externally (not via Google Workspace).Once created, or you’ve opened an existing Project, you may be on the project dashboard, where you will need to open the sidebar. If you are on the welcome page, continue by selecting OAuth consent screen in “APIs and services”.You should see that Google Auth Platform is not configured. Press “Get started” and fill in the relevant information, such as your “App name” and “User support email”. These will be visible when the user is authenticating.After continuing, you can select an “Audience”. If you are using Pangolin for friends and family, use the “External” Audience. You can only have 100 users authenticated with a “Testing” status.Once completed, you will then need to open the Branding tab.Locate “Authorized domains”, then press “Add domain” to add an authorized domain. You’ll need to authorize the top private (root) domain here, such as After hitting “Create”, you will be able to see the “Client ID” and “Client secret”, you may want to copy these somewhere as these will be needed momentarily, though they will still be accessible in the future.
Depending on your use case, you may want to use the “Internal” Audience if you are utilising Google Workspace SSO.
example.com. Your SSO may function without an authorized domain, though setting this field should guarantee functionality.Creating an OAuth client ID in your Project
Go to the Clients tab, and click “Create client” below the top bar.For “Application type”, selectWeb application. Any “Name” can be set. Leave “Authorised JavaScript origins” and “Authorised redirect URIs” empty.We will revisit the “Authorised redirect URIs” field later, as we do not have Pangolin set up for Google yet.
Creating a Google IdP in Pangolin
In Pangolin, go to “Identity Providers” and click “Add Identity Provider”. Select the Google provider option.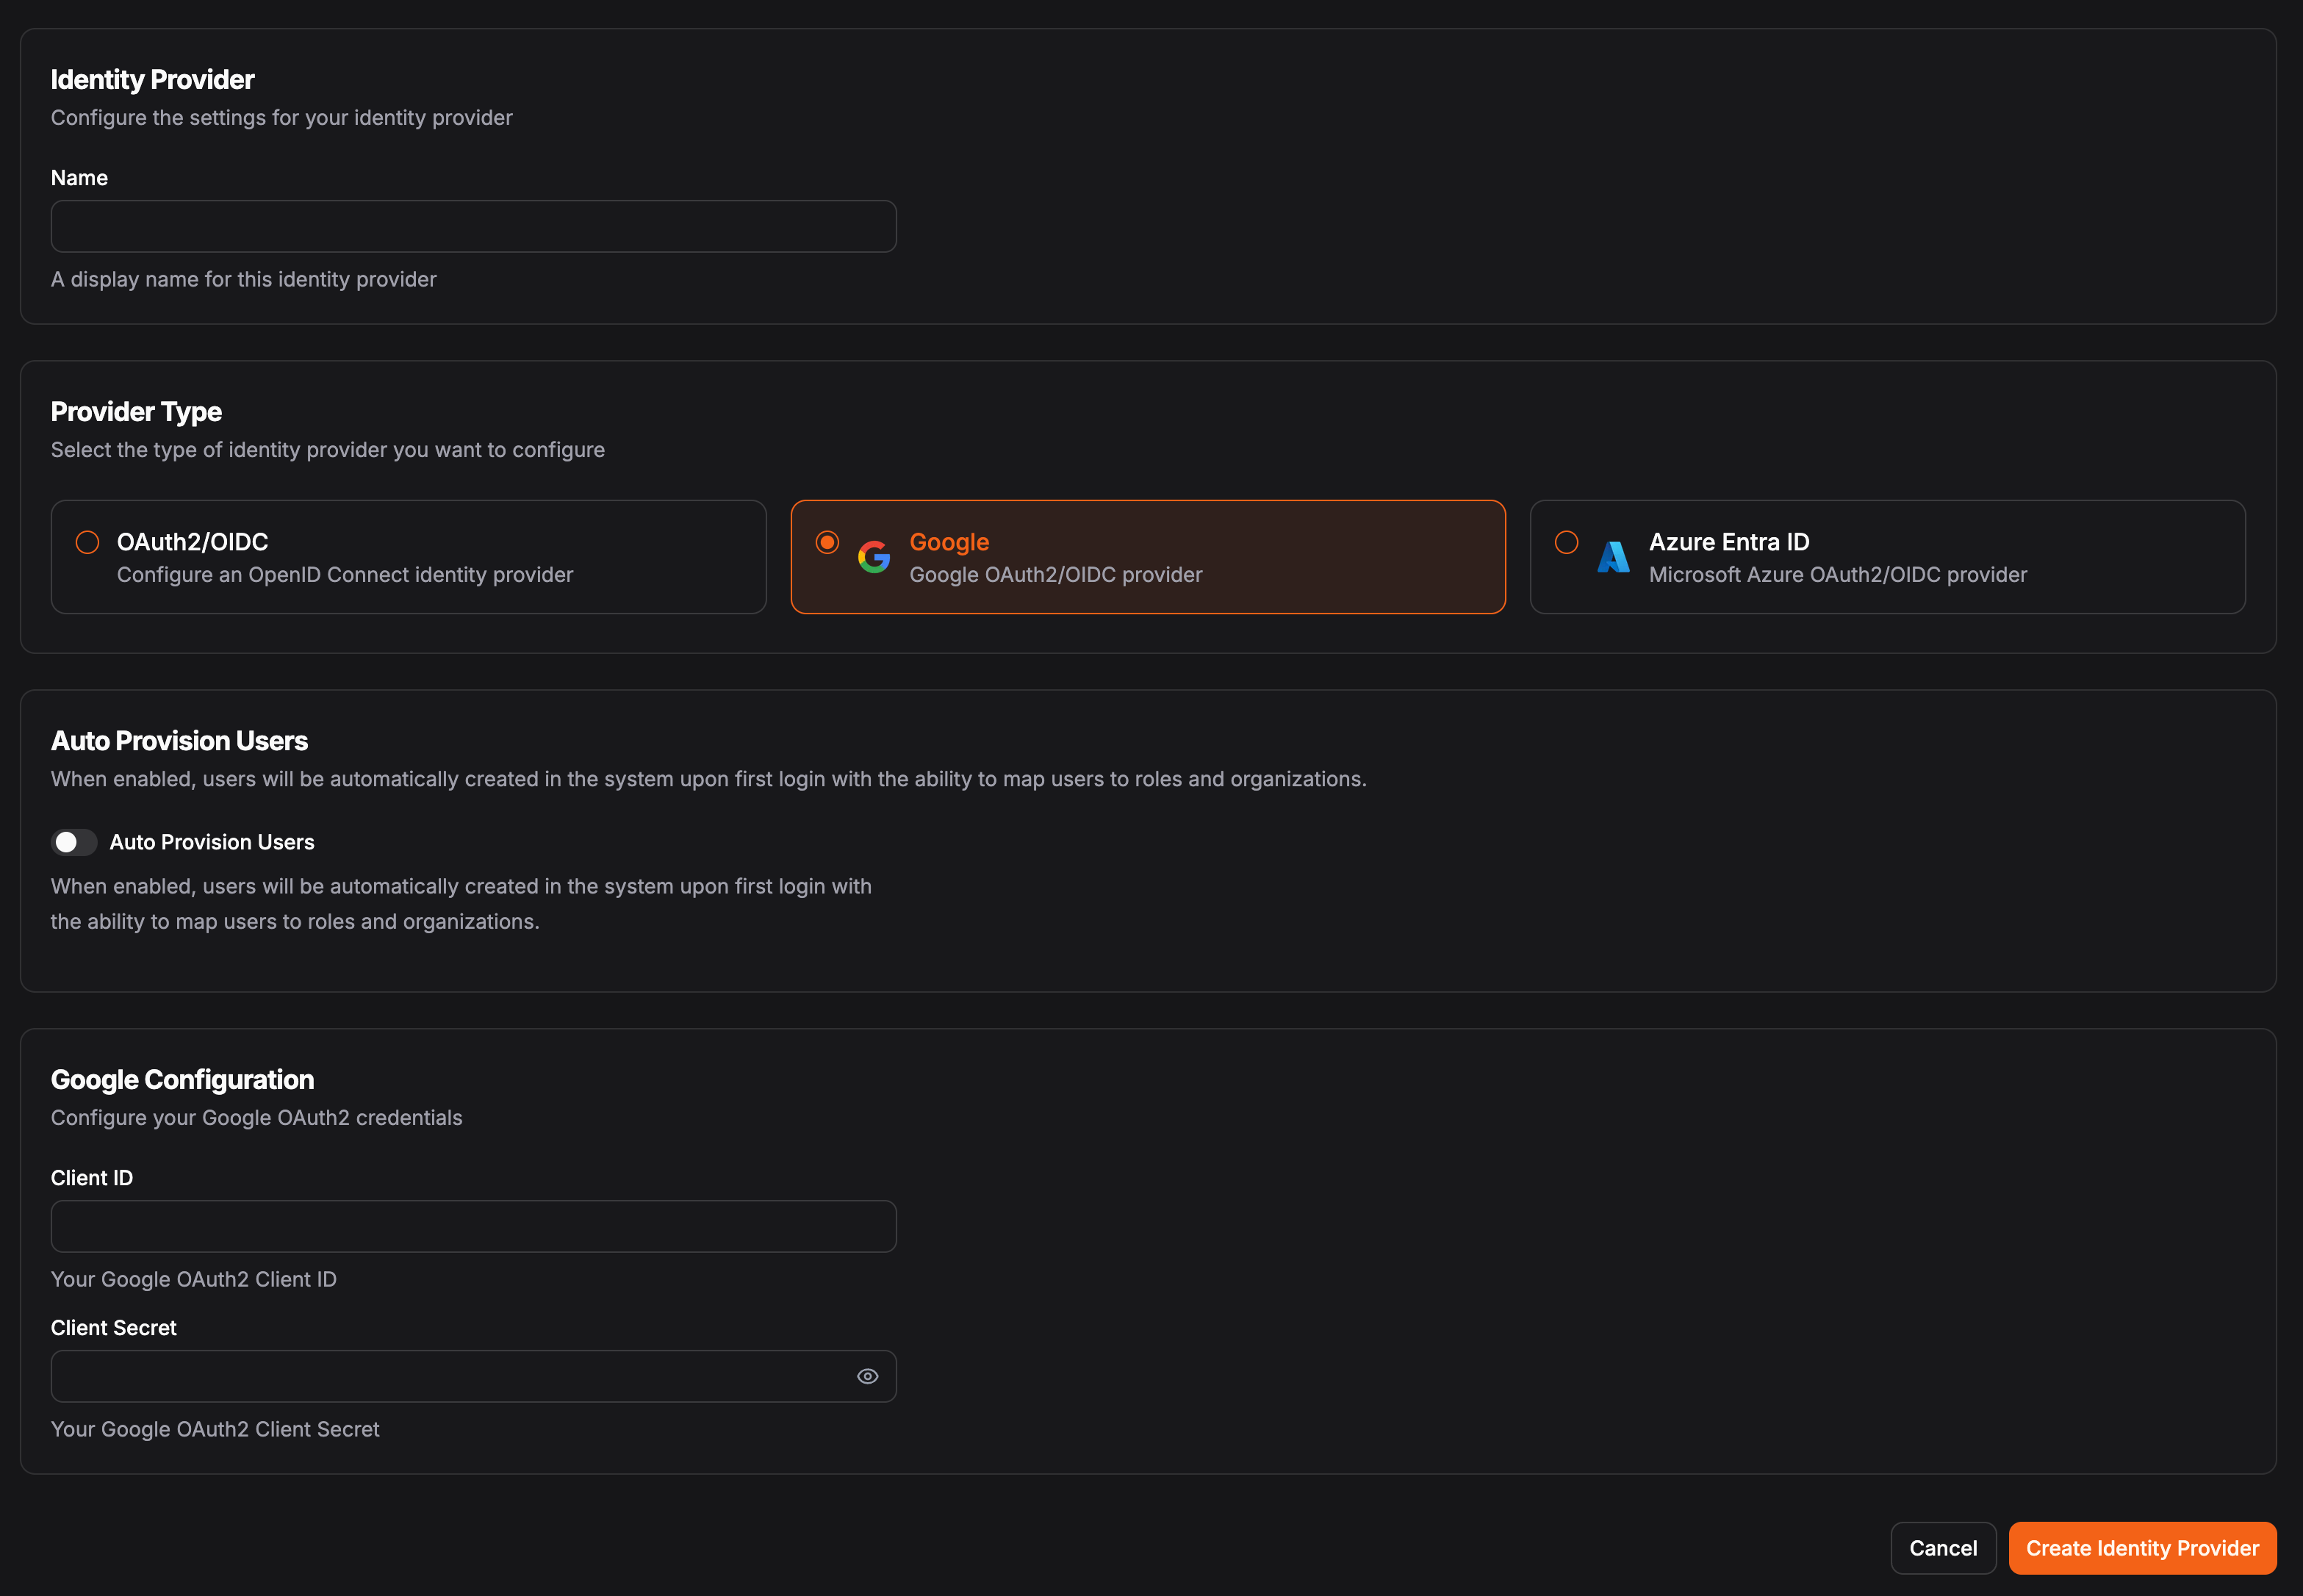
string
required
The Client ID from your Web application client.
string
required
The Client secret from your Web application client.